
Resurrection Rolls

 For Easter morning breakfast, we made Resurrection Rolls (I originally found the idea here.)

Needed:
One can of crescent roll dough
1 large marshmallow for each roll
Melted butter
Cinnamon sugar


Since Harvey has a really short attention span is still pretty young, I decided to read him the story of the crucifixion (chapter 53) out of the children's New Testament Stories instead of the real bible. While we were reading, I preheated the oven to 350 degrees. Then we unrolled the crescent rolls and laid them out on a greased cookie sheet. I explained that they were like the burial cloth that Jesus was wrapped in.

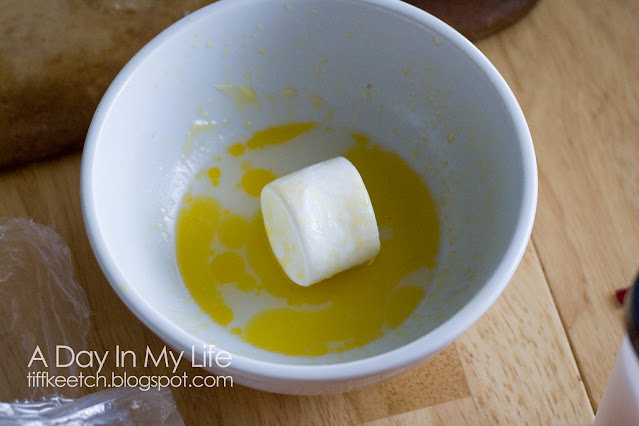
I told Harvey that the marshmallows were like Jesus because they were white - clean and pure, because he did not sin. As we dipped and rolled them in butter, I explained that the butter represented the oils that were put on his body before burial.


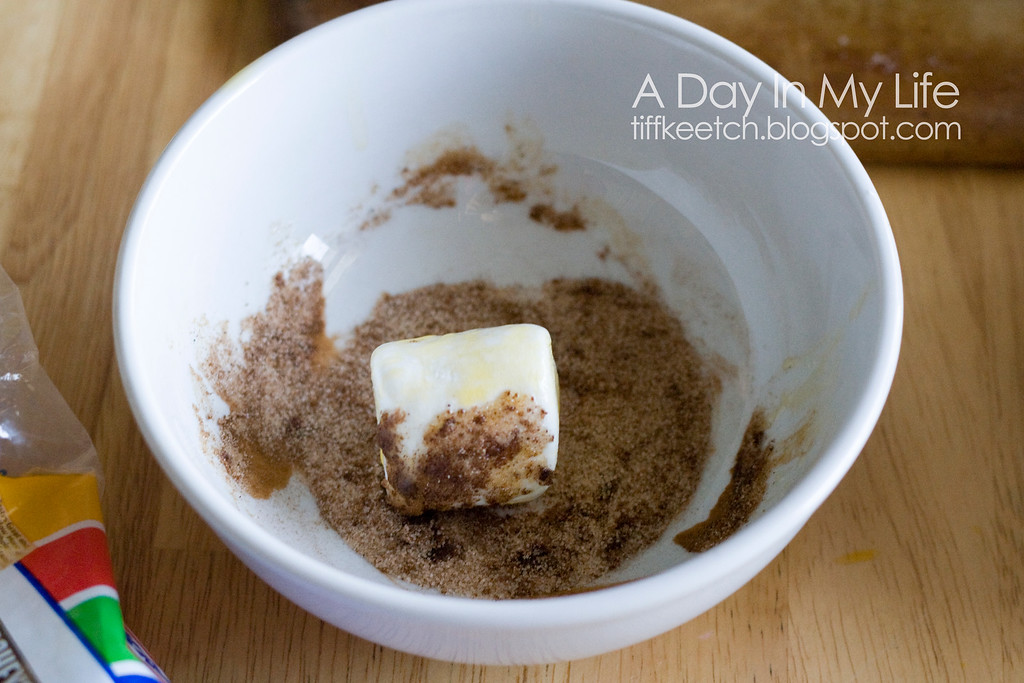
Then we rolled the marshmallow in cinnamon sugar, and I told him that it represented the herbs and spices used to prepare Jesus' body for burial.


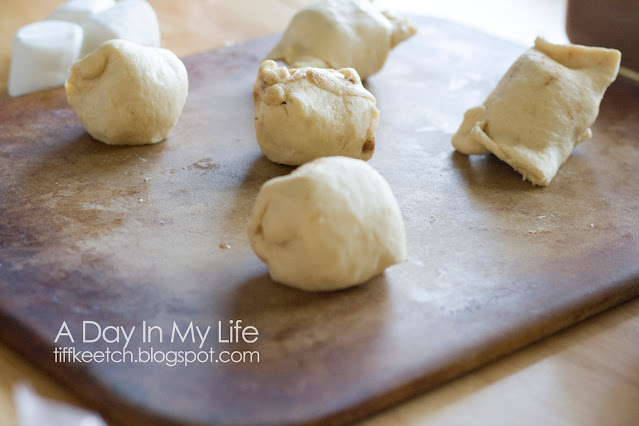
As we wrapped up the marshmallow in the crescent roll, I explained this was like the way Jesus was wrapped in the burial cloth. (Make sure you seal them really well, or your marshmallows might leak out..)


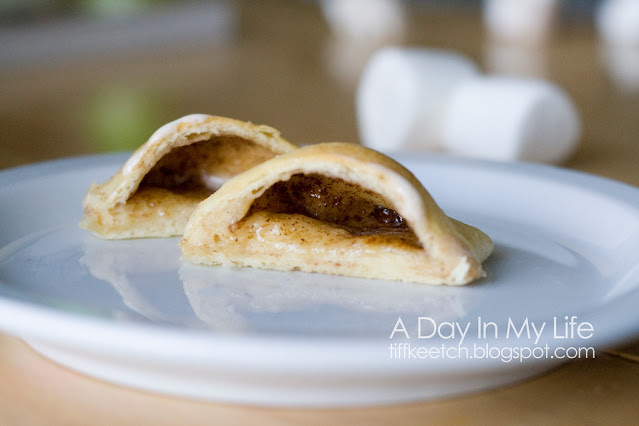
Then we laid the cookie sheet in "the tomb" aka the oven, and set the timer for 12 minutes. While we were waiting, I read the story of the Resurrection. After we pulled the rolls out and cut them open, this is what we found:


Jesus is RISEN! Harvey was so excited... and after he ate the first one, he asked to eat another Jesus.

Comments

  1. We did this too and the first thing Sophie said after we cut open the roll was,"So, did the marshmallow melt in the oven?" Hahaha!

    ReplyDelete
  2. That's a really cute and easy (the little ones can do it) idea. THANKS! I want to do this next year!

    ReplyDelete
  3. You are such a good Mom Tiff! This is a way fun idea. I am going to try it.

    ReplyDelete
  4. Such a good idea, I'm saving it for next year!

    ReplyDelete
  5. Thank you so much for this post. I want to let you know that I posted a link to your blog in CBH Digital Scrapbooking Freebies, under the Page 3 post on Apr. 13, 2012. Thanks again.

    ReplyDelete

Post a Comment

Popular posts from this blog

This Much Card and a Kid Canvas

Father's Day ideas continued... I decided to show you the things Harvey and I made to give to Justin. First up... "I Love You This Much Card": It's super easy... 1. Trace your child's hand, then cut out two copies. My paper was double sided so I made sure that when the thumbs match up - the yellow side would be inside, and the blue side would be outside. 2. Cut out a strip of paper and fold it accordion style. Use letter rub-ons or stickers to add the words "I Love You" on the outside, and "This Much" on the strip of paper.  3. Glue the ends of your accordion strip on the insides of the hands and your card is done. :) Kid Canvas: Then Harvey and I made a little canvas (4 inches x 4 inches) to hang on the wall in Justin's office at work. I purchased small ones so we could add to them each year and hang them in one grouping. I prepainted the canvas in green, then set Harvey in the bathtub with blue paint and

Thinkin' About Dad

So.. Father's Day is in 10 days. Yeah - already. Here are a few ideas for you... Shirt Card: All you need are two papers, and two buttons. 1. Cut one paper into a piece 4 inches by 11 inches. Fold it in half so you have a card base that opens "up" and measures about 4 inches wide by 5.5 inches tall. 2. Measure one inch from the fold and draw a line 3/4 inches toward the center on both sides of your card.  Use scissors to cut through both papers at the marks. 3. Fold these pieces in to the center of the card, so the top corners meet in the middle. 4. Download this tie pattern... Here is an alternate link to download the file: Shirt Card Template ...and use it to trace and cut a tie out of your second paper. Glue your tie in the center of the card. 5. Add buttons to the collar to make it more realistic. (Or, if you want to do it digitally, go here to download an awesome template from ScrapMatters.com) Here are some clutter-free Father's Day gif

DIY Canvas Car Playmat

So, my baby turned two yesterday. And I just KonMaried my house and I am SO. OVER. the toys. And the kid clutter. Plus he has both a big brother and a big sister, and they have toys that cover all the basics. But we still have loads of birthdays and Christmases in our future, so what in the world am I going to give? Anyway, my internal brain rant ended when I came up with this idea. It meets all of my current criteria: It is durable.  It is open-ended and fosters imaginative play. It folds up small and can be stored with like-items in our toy storage system. It encourages cooperative play. My hubby had a mat like this one when he was a kid, so I asked my mother-in-law to give me some details on how to make our own. I bought 60 inches x 45 inches of duck canvas and ran a zigzag stitch down the raw edges. Then, (after planning out the city on graph paper measured and accurately scaled proportionately, then folding the canvas to help rescale my plan) I drew in the c