
Summer Salsa


1/2 bushel of tomatoes (I fill up my sink twice to measure)
10 aneheim peppers
5-10 jalapenos - depending on how hot you like it. I put 10 in for a medium kick.
6 green peppers
5 onions
3/4 cup white distilled vinegar
1/2 cup salt
3/4 cup sugar
3 tsp dried, crushed red peppers

1. Remove the skins from the tomatoes, then chop everything up and put it in a HUGE pot (mine is 22 quarts, but I only fill it half to three quarters of the way up).

2. Put a bunch of this fresh mixture in a container - you can't beat this. I've tried to make a small batch of this recipe just for this fresh stuff, and it never tastes as good.

3. Boil the rest until it's as thick as you like it. (To save time in this step I squeeze all the tomatoes before I chop them to get most of the juice out. Then I only have to boil it about 20 minutes). If you don't squeeze them out, you might be boiling for 4 hours.

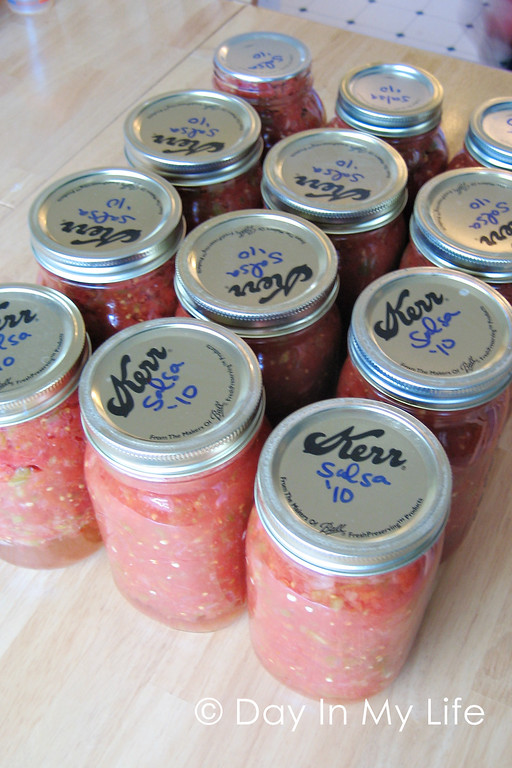
4. Put into jars, and process the quart sized ones for 35 minutes. (I've never done pint sized ones, so I'm not sure on the time.)

** Thanks for sharing your recipe with me Jo!! It's the best one I've tasted! **


My Tips for Canning Salsa:

- Look for a canning accessory kit - the magnetic lid picker-upper, and the jar picker-upper (looks like some funky tongs), as well as a funnel are SO nice to have when doing a big batch.

- Google how to peel tomatoes. Or here's a link. It isn't hard at all, but it's quite messy and time consuming. I fill up one side of my sink with cold water (if you have ice it does help). And I usually get 3 boiling pots going at a time, and keep dropping tomatoes in until the skins crack. Keep checking them. Although the link says to slice the bottom, I never do. After the skins crack, I just put them in the sink with the cold water, and if the water starts to get hot... I just drain some and replace with more cold water.

- Hand chopping everything takes FOREVER! The first batch I did this year took me 4 hours just to prepare. And I still had to boil everything and process it! The second batch I did only took about half the time and I used my food processor (on the pulse mode - not puree). If you have someone to help you it will go faster as well.

- Buy a new pair of yellow cleaning gloves to use for when you handle the aneheims and the jalapenos. If you get bits of those peppers stuck under your nails you will cry. Just trust me. Also - I leave the seeds in, but this makes it hotter. The recipe I gave you with all 10 jalapenos makes a "medium" heat. Add everything but the jalapenos, then add a few at a time - stir really well, and taste it. Then if you need more heat, add more.

Comments

Popular posts from this blog

This Much Card and a Kid Canvas

Father's Day ideas continued... I decided to show you the things Harvey and I made to give to Justin. First up... "I Love You This Much Card": It's super easy... 1. Trace your child's hand, then cut out two copies. My paper was double sided so I made sure that when the thumbs match up - the yellow side would be inside, and the blue side would be outside. 2. Cut out a strip of paper and fold it accordion style. Use letter rub-ons or stickers to add the words "I Love You" on the outside, and "This Much" on the strip of paper.  3. Glue the ends of your accordion strip on the insides of the hands and your card is done. :) Kid Canvas: Then Harvey and I made a little canvas (4 inches x 4 inches) to hang on the wall in Justin's office at work. I purchased small ones so we could add to them each year and hang them in one grouping. I prepainted the canvas in green, then set Harvey in the bathtub with blue paint and

Thinkin' About Dad

So.. Father's Day is in 10 days. Yeah - already. Here are a few ideas for you... Shirt Card: All you need are two papers, and two buttons. 1. Cut one paper into a piece 4 inches by 11 inches. Fold it in half so you have a card base that opens "up" and measures about 4 inches wide by 5.5 inches tall. 2. Measure one inch from the fold and draw a line 3/4 inches toward the center on both sides of your card.  Use scissors to cut through both papers at the marks. 3. Fold these pieces in to the center of the card, so the top corners meet in the middle. 4. Download this tie pattern... Here is an alternate link to download the file: Shirt Card Template ...and use it to trace and cut a tie out of your second paper. Glue your tie in the center of the card. 5. Add buttons to the collar to make it more realistic. (Or, if you want to do it digitally, go here to download an awesome template from ScrapMatters.com) Here are some clutter-free Father's Day gif

Our General Conference Center

I know, no one is thinking about General Conference right now. But tonight I'm showing my board to my mom's Relief Society group, and I wanted to have the printables available to them if they decided to complete this project. If any of you are interested... you have three and a half months to complete it. :) Two days before General Conference, I stumbled across this idea for engaging young children.... and I thought it was absolutely amazing. (And so are most of the ideas found on Jen Lund's blog - check it out!) One of the main reasons I love this idea, is that it doesn't just distract young children from being disruptive during Conference, but it engages them and encourages them to listen! I'm not gonna lie. It took time to put together, but I am positive that Harvey will enjoy working with this board. That will hopefully translate into Justin and I being able to listen, and that will make all of my hard work worth it in the end. Here's how i