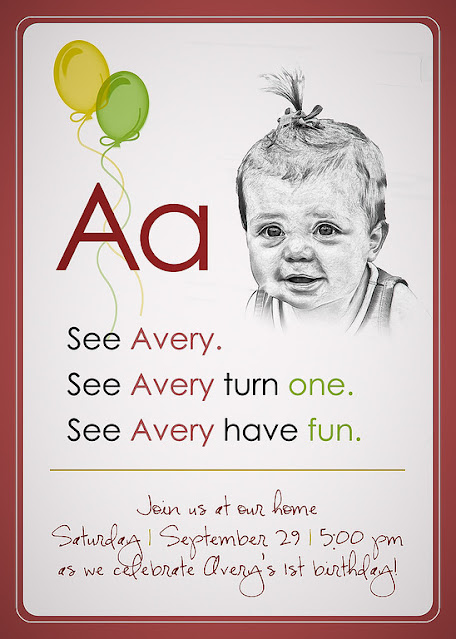
We had so much fun at Avery's first birthday bash on Saturday... and I had way too much fun planning and prepping all of the details. I decided to do a school theme. You know, like A B C and 1 2 3. Invitation:
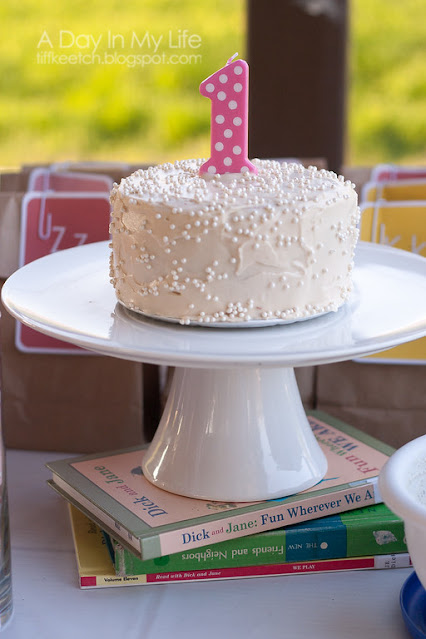
It helped that my mom is a school teacher and happened to have vintage Dick and Jane books, as well as access to a bunch of other school supplies. I knew I wanted to incorporate the milestone pictures I've been taking of Avery all year. I put a few in frames, and the rest I displayed like this:

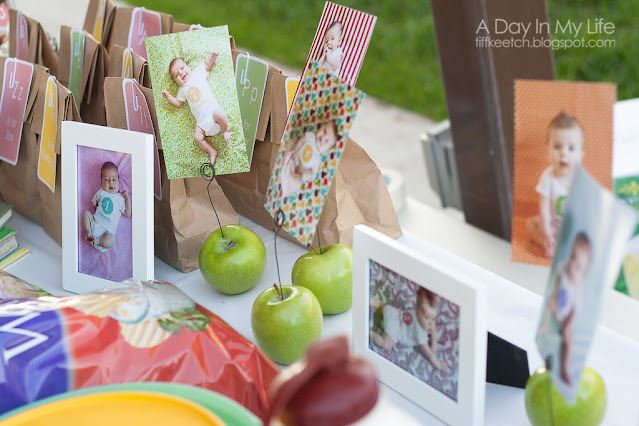
It was really easy to use pliers to twist up a wire and stick it in the apples. Each of the other tables had a simple centerpiece...
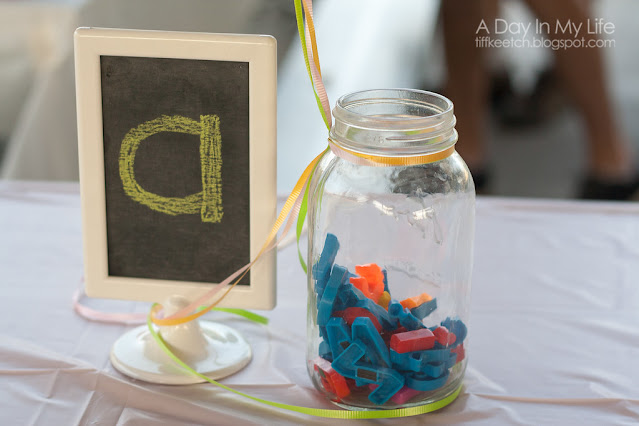
I already had the Ikea frames from Harvey's 2nd birthday party, and I spray-painted a piece of cardboard with chalkboard paint for the insert, and wrote "A" or "1" with colored chalk. I tied the balloons to a mason jar filled with magnetic letters.
I added a "schedule" to our big chalkboard (although, we didn't really follow it).

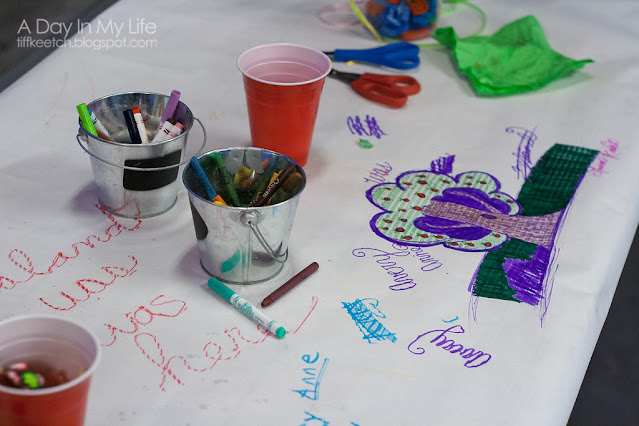
So, first up: art. I covered one of the tables with white butcher paper, and added little buckets of crayons and markers. Guests could doodle to their hearts content while we finished grilling the teriyaki chicken.
To accompany lunch (aka dinner), I had my mom buy some boxes of chocolate milk from her elementary school. It was fun to hear all of the kids recognize the cartons from their daily lunches. :)

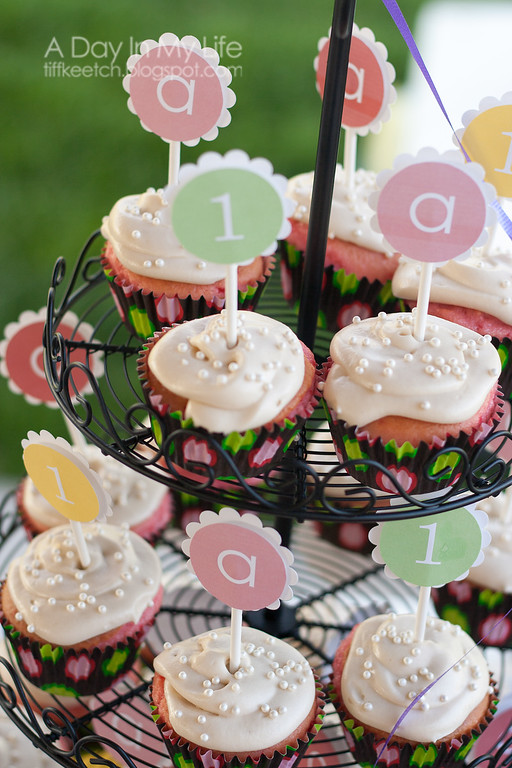
I made these simple cupcakes out of a strawberry box mix and the frosting from this recipe (because it's to DIE for). Oh, and I used Reynolds Staybrite Liners , because they are my favorite; they really do stay bright instead of all greasy looking like other cupcake liners.

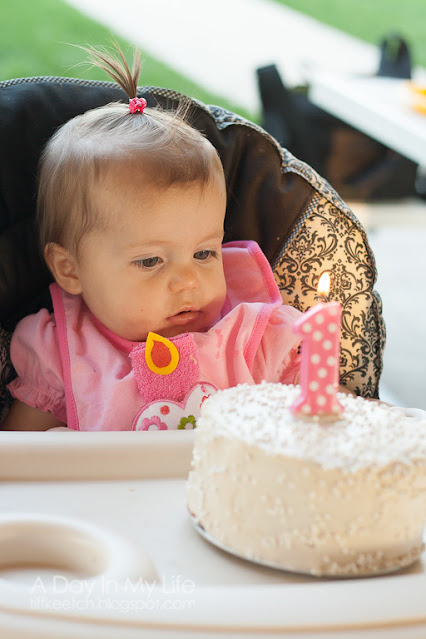
Avery loved her cake...


For the dessert table I displayed flashcards with little eraser stands (just cut a little slice in the eraser for the cards to slide into). The gumballs were a big hit.

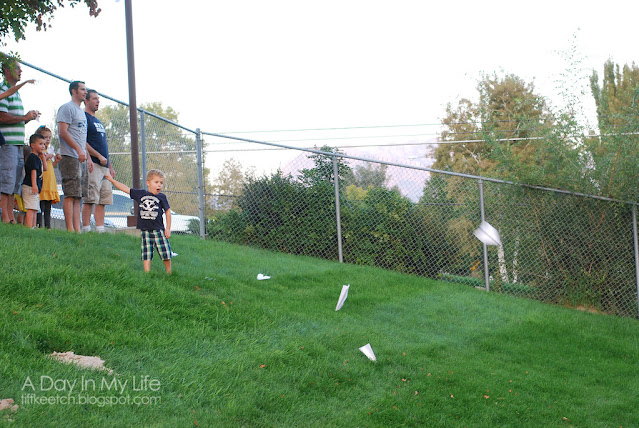
We had a paper airplane folding contest. Everyone folded their own airplane...
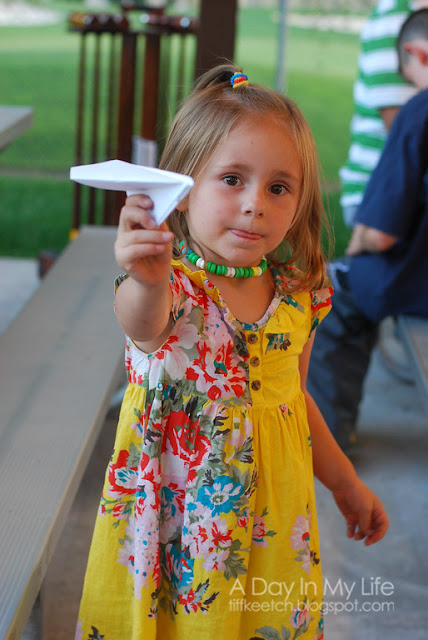
Then they all lined up at the top of the hill to see who's plane would fly the farthest...

I had a few other playground games planned, and if they got played - I didn't get any pics. But I had chalk and a hoppytaw for hopscotch, a big playground ball to play 4-square or kickball at the baseball field, and jump-ropes. I should have put someone else in charge of taking those pics. :(
After we finally gathered together again, it was time for show and tell... it was funny that Avery was so into it! She loved each and every gift - so much that she didn't want to put it down to open the next one. I would start to take it away, and she would grab it and shriek to let me know.
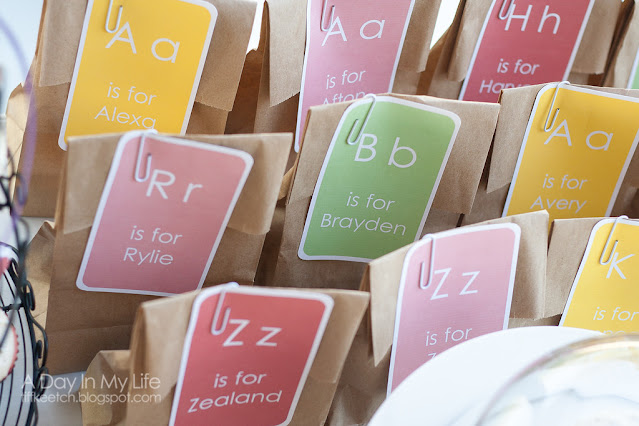
I also had a little favor bag for each of the kids. They concealed a few school supplies: a mini composition book, a box of crayons, a glue stick and a pencil.
So cliche, but I seriously can't believe that my baby girl is one!
ETA: Oh man... I completely forgot to add my inspiration yesterday!! (Sorry..)
Amy Atlas's use of the apples inspired my photo holders, I used the wording from this birthday invitation, I expanded on these brilliant flashcards (also used a similar "drawing" in my invite), I replicated these centerpieces, and copied this creative place card holder and this chalkboard schedule.


I added a "schedule" to our big chalkboard (although, we didn't really follow it).


Avery loved her cake...


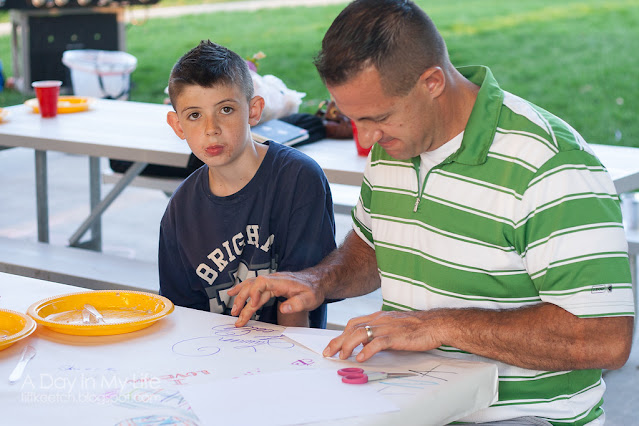
She had a little help eating it. These three boys couldn't help themselves...

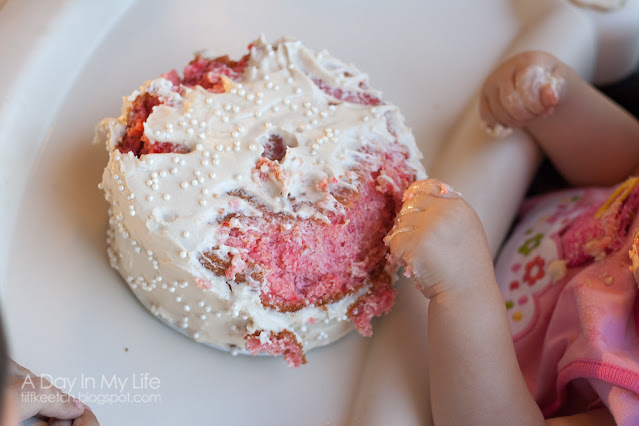
The aftermath:


After we finally gathered together again, it was time for show and tell... it was funny that Avery was so into it! She loved each and every gift - so much that she didn't want to put it down to open the next one. I would start to take it away, and she would grab it and shriek to let me know.
I also had a little favor bag for each of the kids. They concealed a few school supplies: a mini composition book, a box of crayons, a glue stick and a pencil.

So cliche, but I seriously can't believe that my baby girl is one!
ETA: Oh man... I completely forgot to add my inspiration yesterday!! (Sorry..)
Amy Atlas's use of the apples inspired my photo holders, I used the wording from this birthday invitation, I expanded on these brilliant flashcards (also used a similar "drawing" in my invite), I replicated these centerpieces, and copied this creative place card holder and this chalkboard schedule.
LOVE it! You are so creative and amazing! How do you find time and energy to do it all?!?! Thanks for being a wonderful example of a great mommy!
ReplyDeleteSuch a fun party! Everything was so cute and the kids had so much fun. Great pictures too!
ReplyDeleteWhere's the picture of Harvey by the bushes??? LOL
Tiffany, this looks like so much fun -- you are so creative and I love all the details you put into things. :)
ReplyDeleteWhat a cute idea. Love the favor bag tags.
ReplyDeleteInflatable moonwalks is game where you can get the feeling about walk in moon. It is inflate by oxygen, carbon-oxide, and many more gas. There are many color and many design of the moonwalk.
ReplyDelete