A few years ago, I told my friend's mom I wanted to learn how to make candy. And although my friend had since moved out of state.. her mom planned a day for me to come over and help her make a LOT of candy. Seriously - we cooked and baked all. day. long.
I loved the experience, and I took away some amazing recipes. One of my all-time favorites is the recipe for caramels. It's super easy, but it takes a lot of patience to keep stirring while you're waiting for that thermometer to get to the "soft ball" stage.
What's that? You want to make some? Okay. Here's the recipe:
1. Butter a 9x13 pan. Actually, I use one of those jelly-roll pans that is a little larger, but either will work.
2. In a 6 quart pan, combine syrup, condensed milk, milk, cream, butter and sugar. Heat on medium and stir occasionally and bring to a boil. (It will take a while. Just be patent and don't turn the heat up.)
3. Put your candy thermomitor in (make sure the bottom is not touching the bottom of the pan), and stir constantly until the temperature reaches 240 degrees (soft ball stage). Invite a friend over to take turns stirring, and trust me... it will get there with the heat on medium.
4. Remove from heat and stir in vanilla. Pour into buttered pan without scraping. You'll end up with some funky film on the top of your caramels if you scrape out the pan.
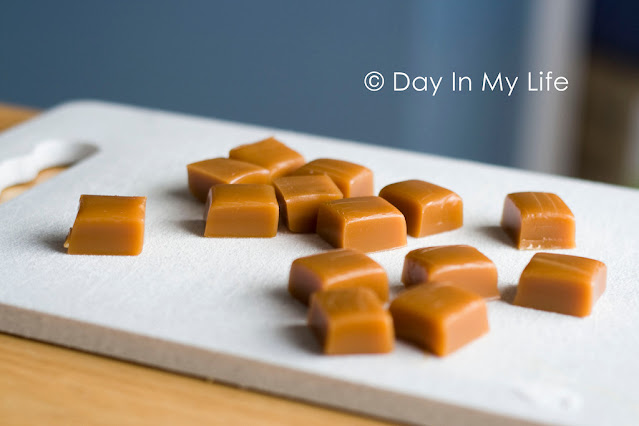
5. Set up for 24 hours and use a heavy sharp knife to cut. I wrap mine in wax paper so all the little pieces don't stick together.
Let me know if you try it!!
I loved the experience, and I took away some amazing recipes. One of my all-time favorites is the recipe for caramels. It's super easy, but it takes a lot of patience to keep stirring while you're waiting for that thermometer to get to the "soft ball" stage.

- 2 cups light corn syrup
- 1 cup milk
- 4 cups sugar
- 2 teaspoons vanilla
- 14 ounces sweetened, condensed milk
- 1 1/2 cups whipping cream
- 1 cup butter (2 sticks)
1. Butter a 9x13 pan. Actually, I use one of those jelly-roll pans that is a little larger, but either will work.
2. In a 6 quart pan, combine syrup, condensed milk, milk, cream, butter and sugar. Heat on medium and stir occasionally and bring to a boil. (It will take a while. Just be patent and don't turn the heat up.)
3. Put your candy thermomitor in (make sure the bottom is not touching the bottom of the pan), and stir constantly until the temperature reaches 240 degrees (soft ball stage). Invite a friend over to take turns stirring, and trust me... it will get there with the heat on medium.
4. Remove from heat and stir in vanilla. Pour into buttered pan without scraping. You'll end up with some funky film on the top of your caramels if you scrape out the pan.
5. Set up for 24 hours and use a heavy sharp knife to cut. I wrap mine in wax paper so all the little pieces don't stick together.
Let me know if you try it!!
How do you wrap them in wax paper? Do you wrap each square individually?
ReplyDeleteI do wrap each square separately. I roll the wax paper around it, then twist two sides - like a butterscotch candy. :)
DeleteYummy! I'm going to try them. Well, actually, I've tried "yours" for the last how many years...maybe I should make my own! Probably need a thermometer first! Thanks a lot!
ReplyDelete